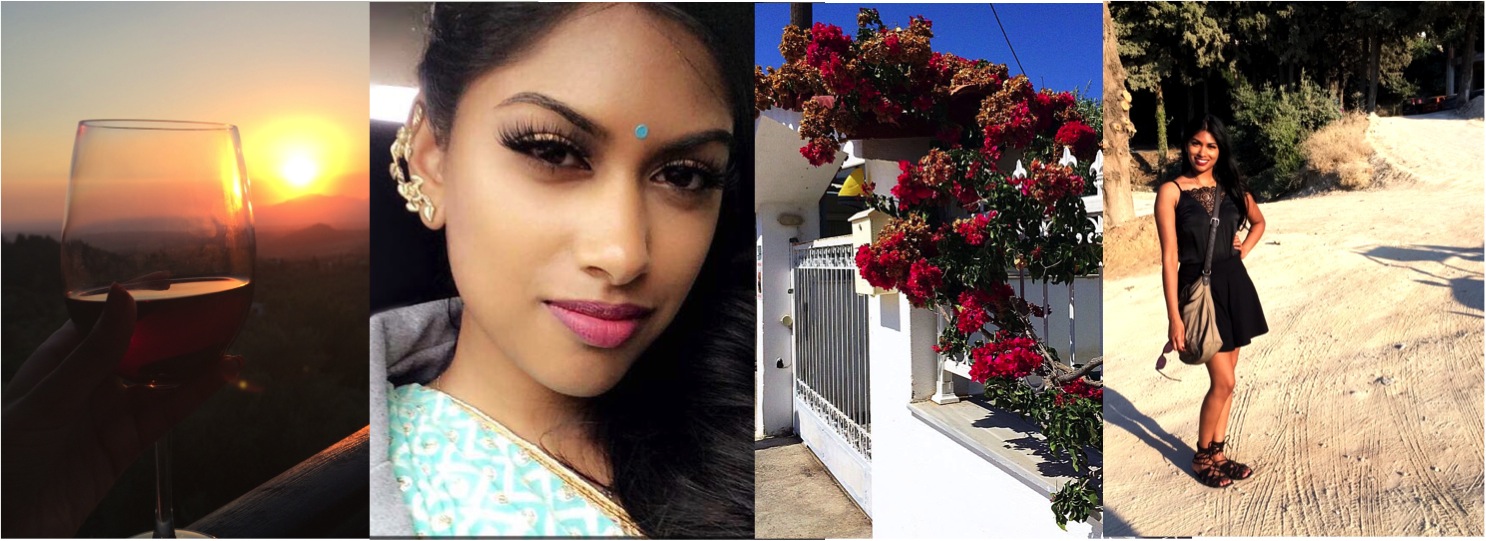
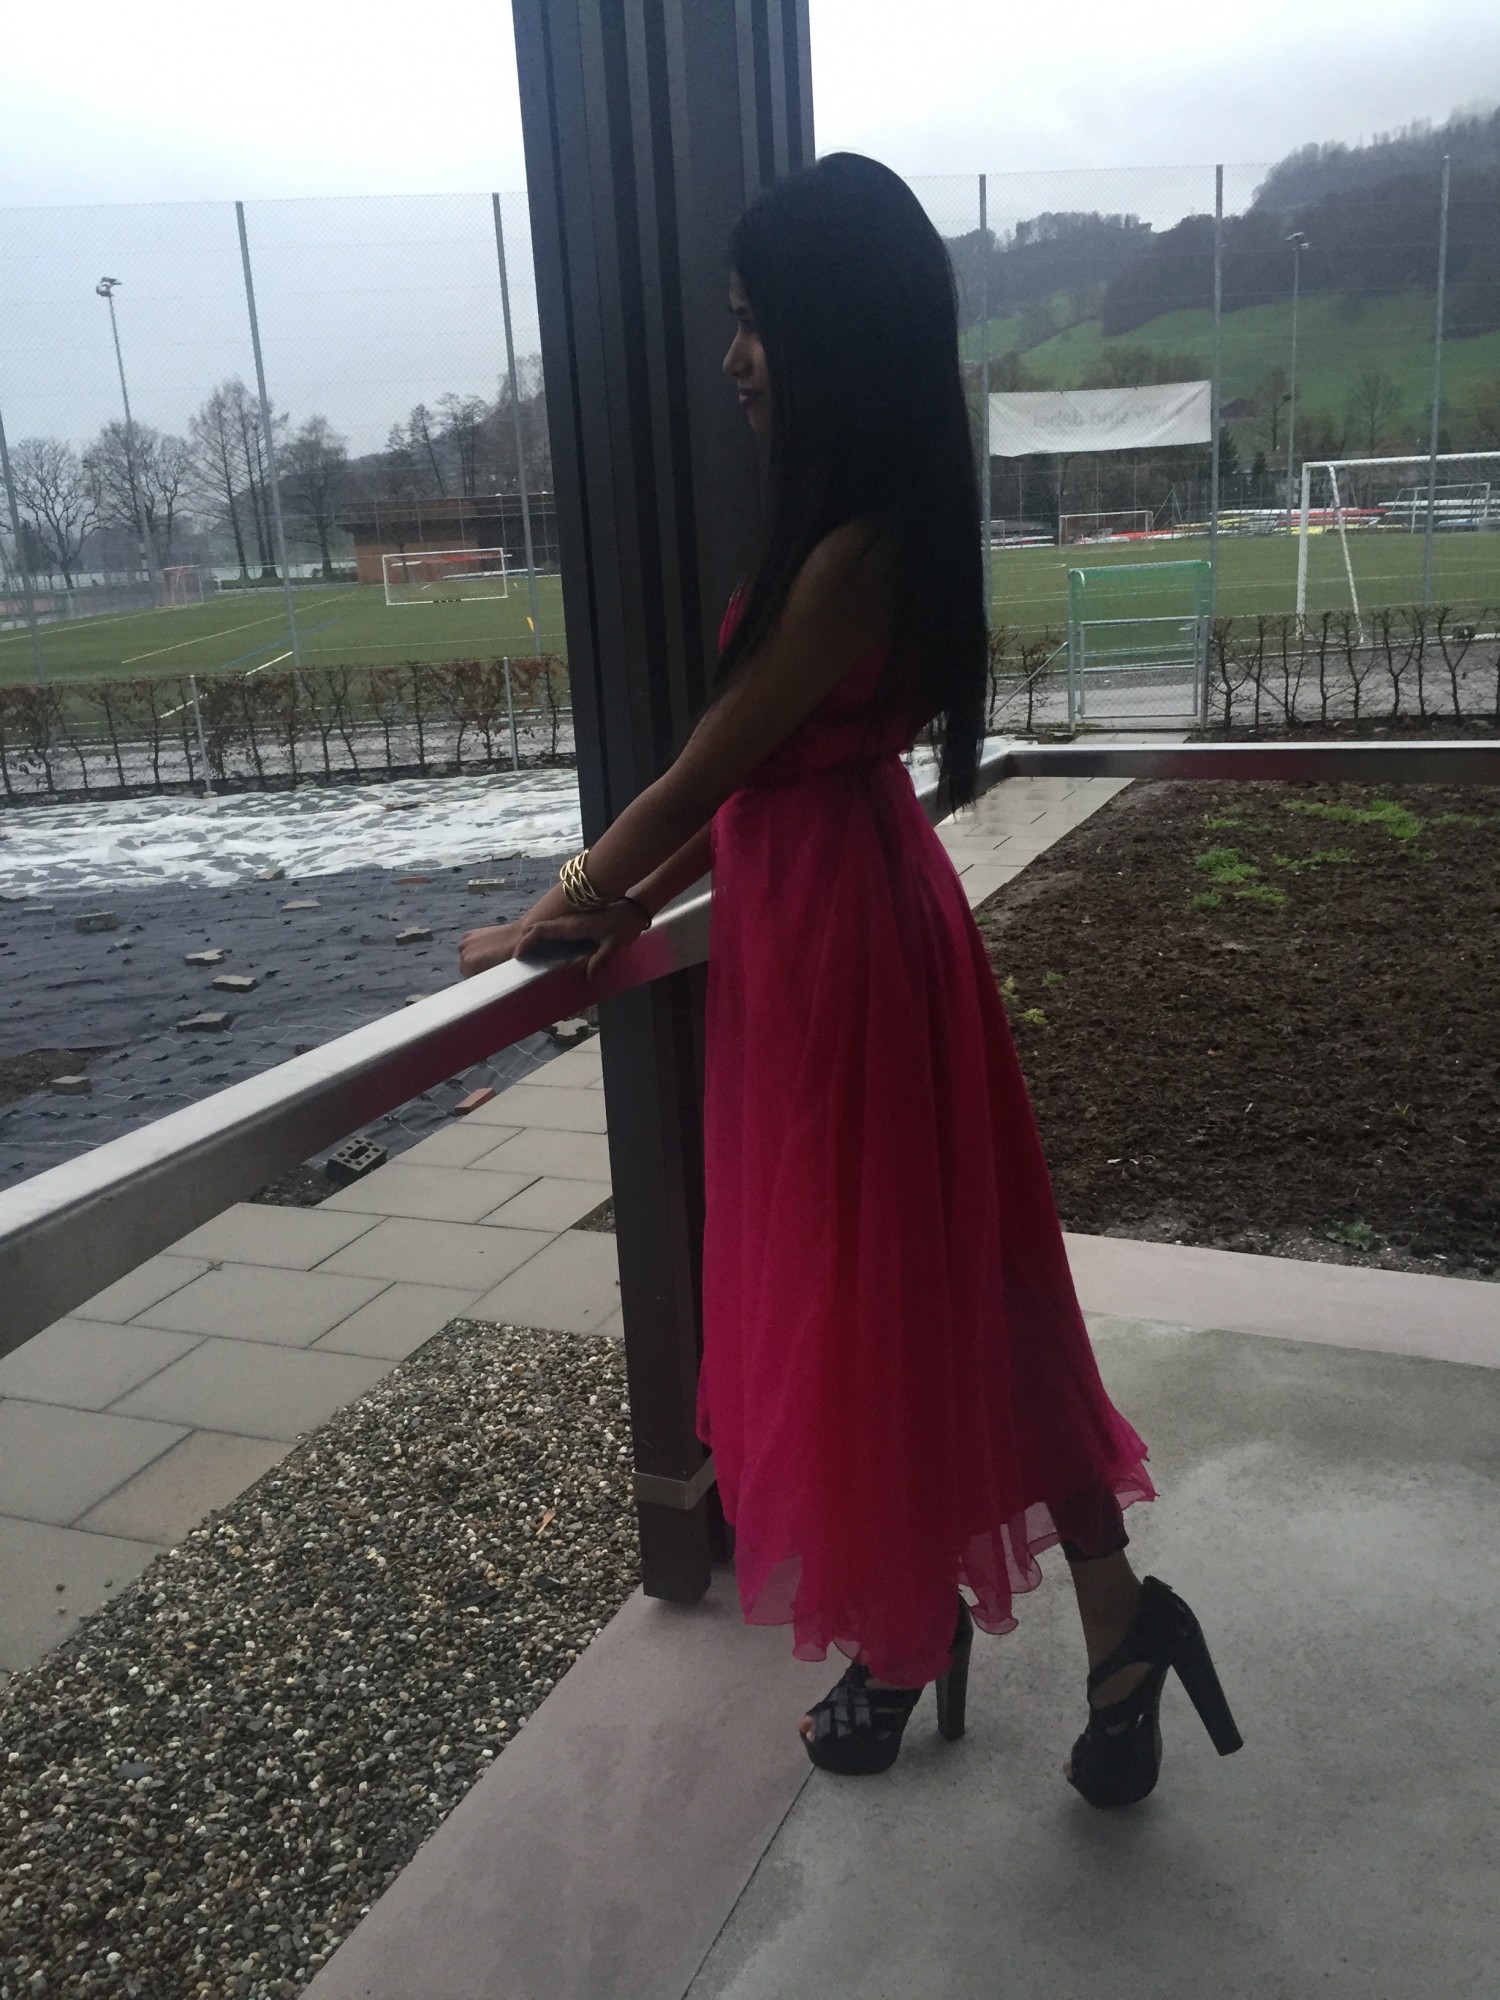
I don’t have many choices when it comes to ethnic wear, so I have to reuse my suits, but I want to mix them up/style them differently than I already have done. The dress I wore last weekend, I had already worn once in Switzerland in 2015 I think, and thought it was time to wear it again, but I wanted to style it a bit differently than last time.
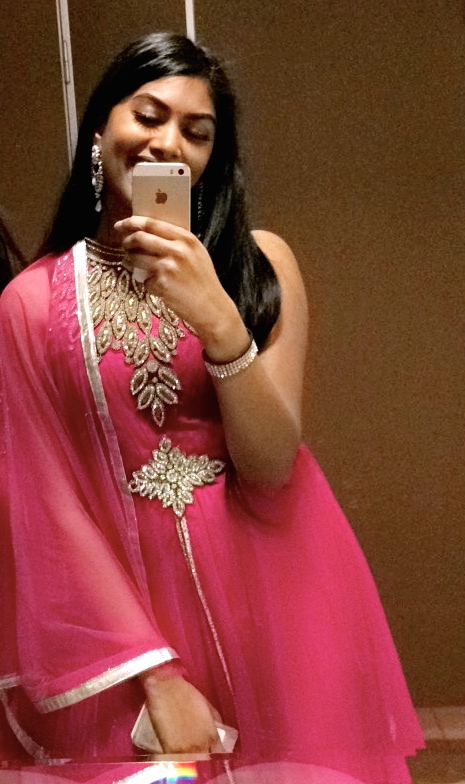
The pictures above, are from last time I wore the dress. It was cloudy that day, so it was pretty hard to find good lightning. I actually wore a black cardigan over the dress because I wasn’t comfortable without sleeves (because my arms were very thin), and it was cold. This time, I just wore black jeans underneath and added a same shade dupatta to cover up a bit. This time I was more comfortable wearing the sleeveless dress, because my arms are bigger now and not like two spaghettis -.-.
I didn’t really take any selfies or actual outfit pictures, but here’s some “mirror selfies” from the bathroom, because I mean, where else do you find good lightning around this season?
My birthday is coming up in February, and I can’t tell if I can be home for that yet. If I can I might have an outfit laying ready for it :)♥
~Neevadha~
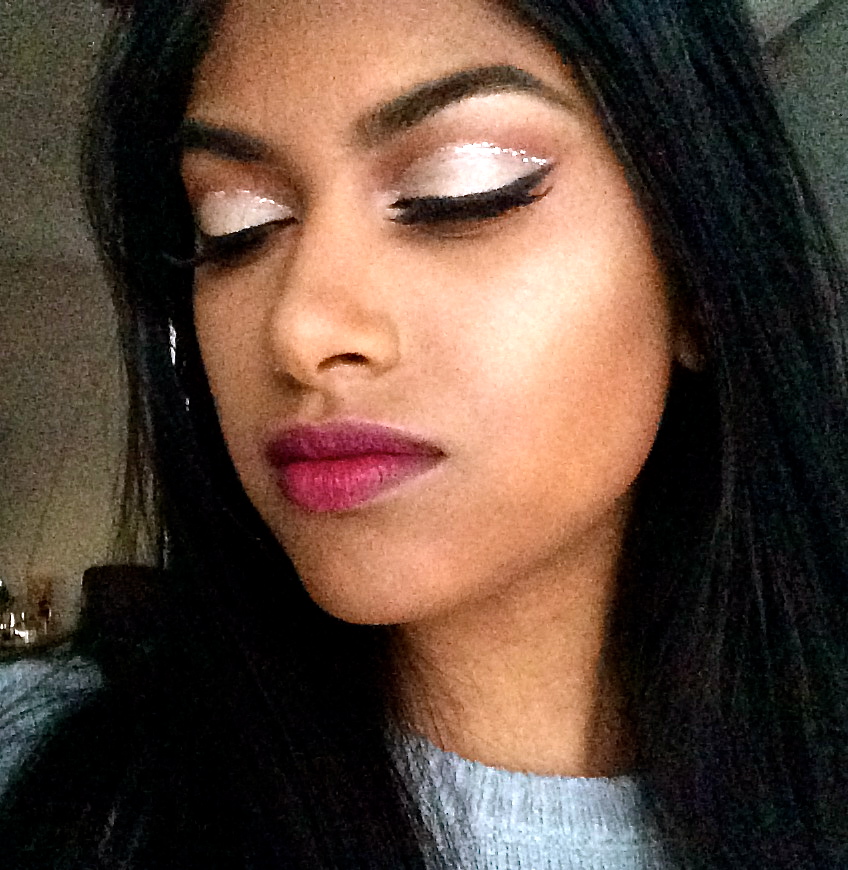
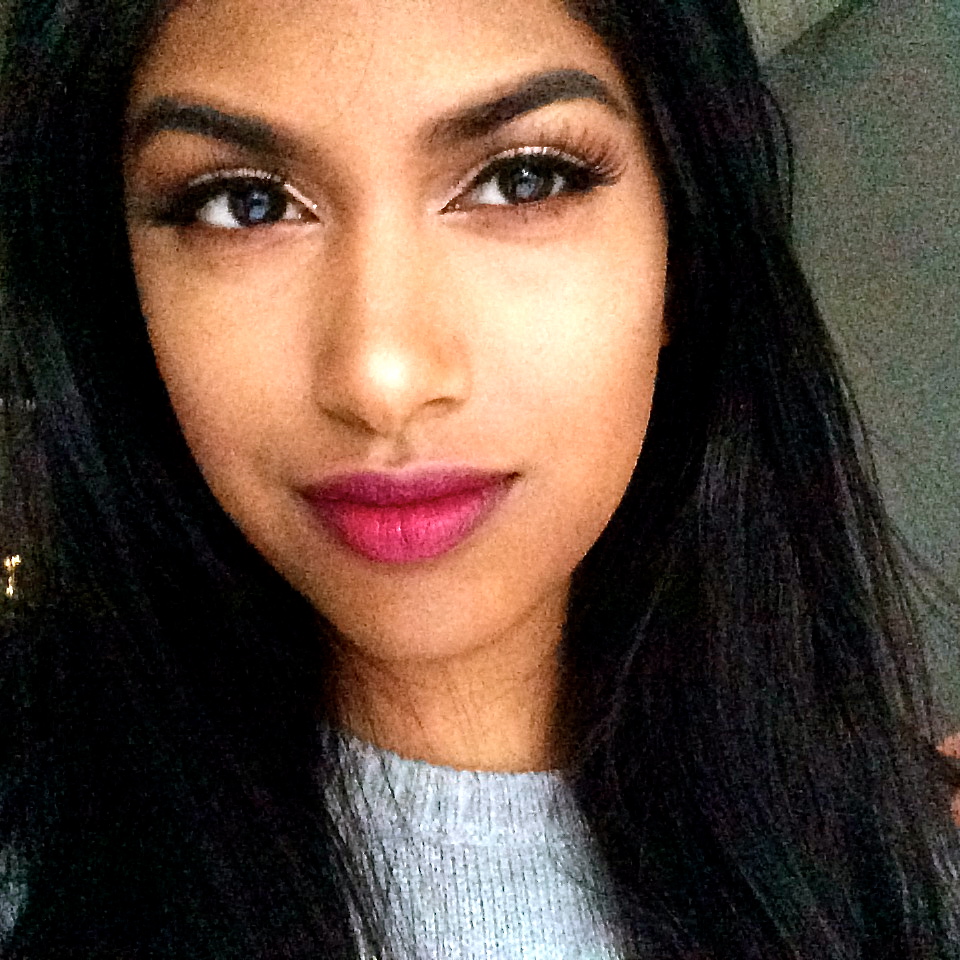
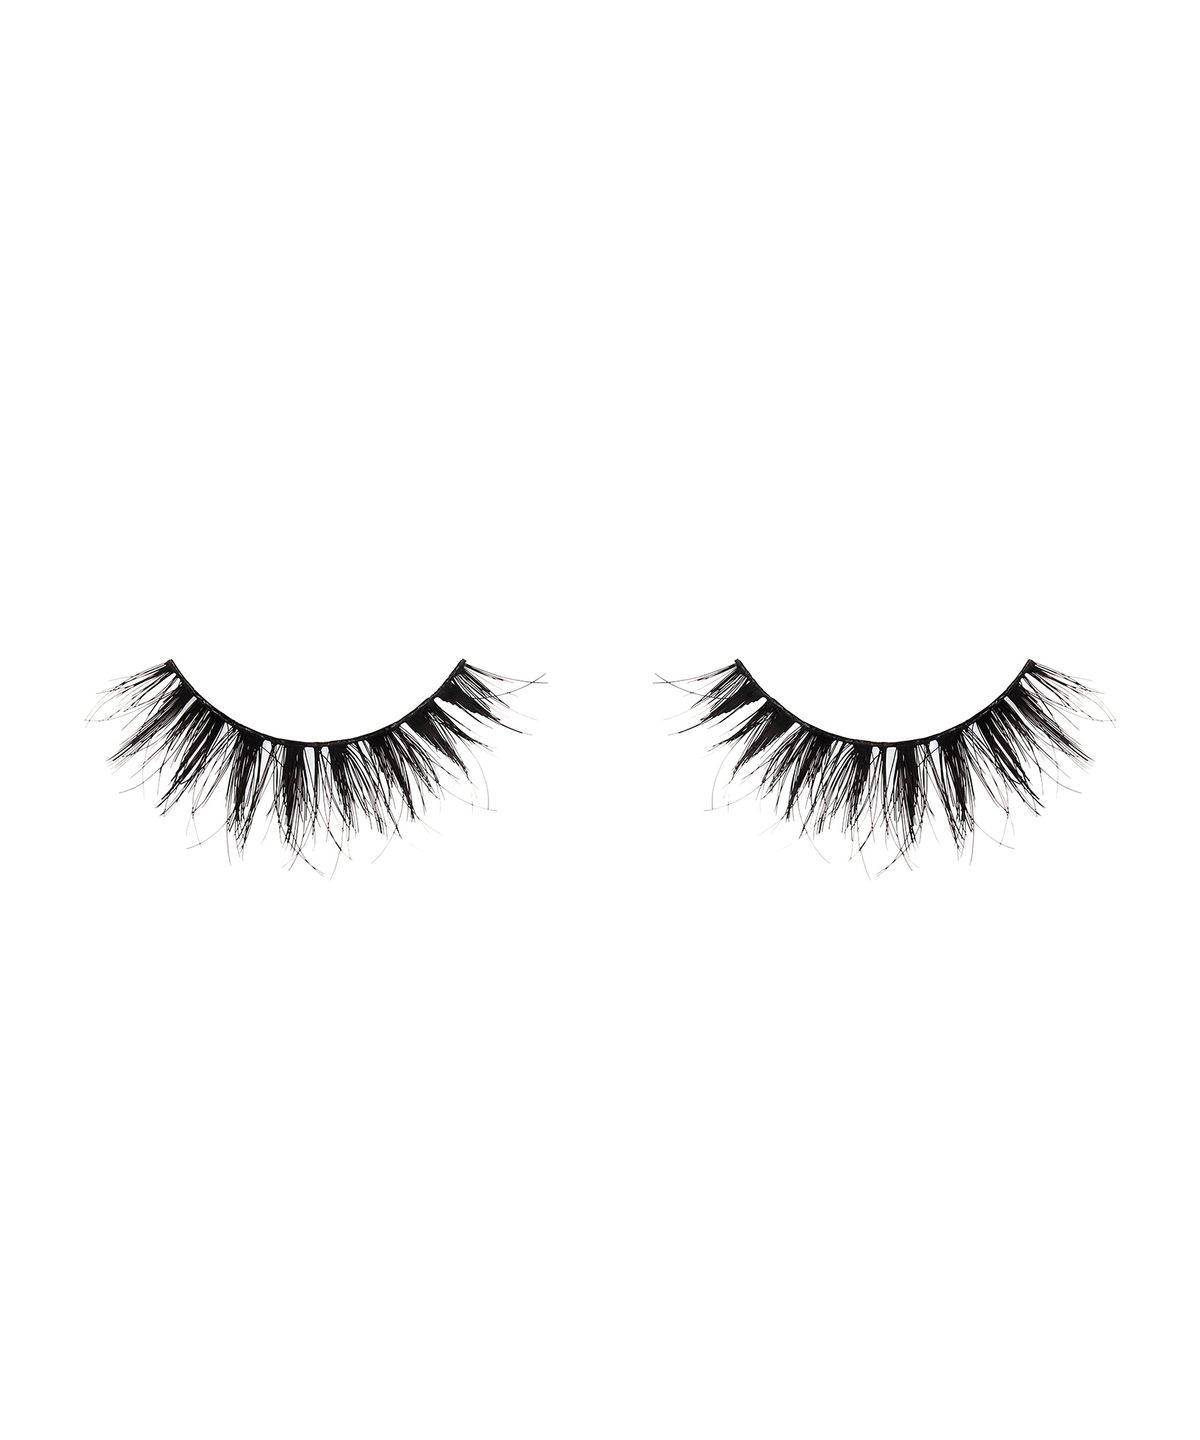
Makeup: Nars concealer, Bobbi brown foundation stick (chestnut), MAC sketch+tempting, Huda Beauty Lashes (samantha), MAC lipstick antique velvet.
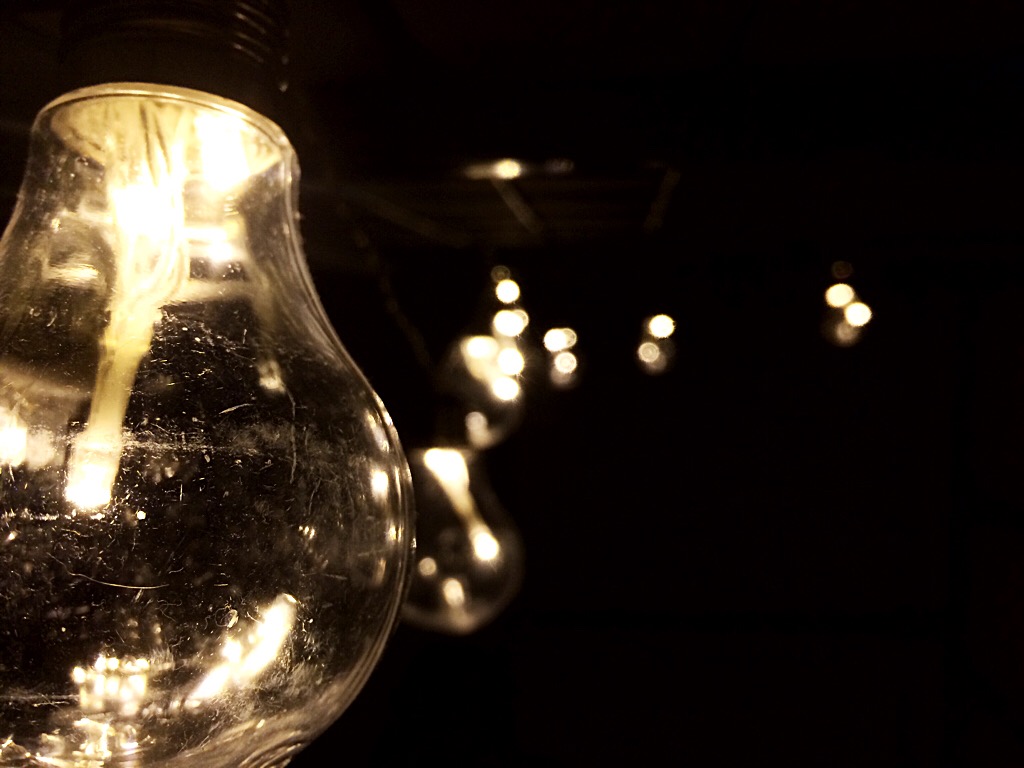
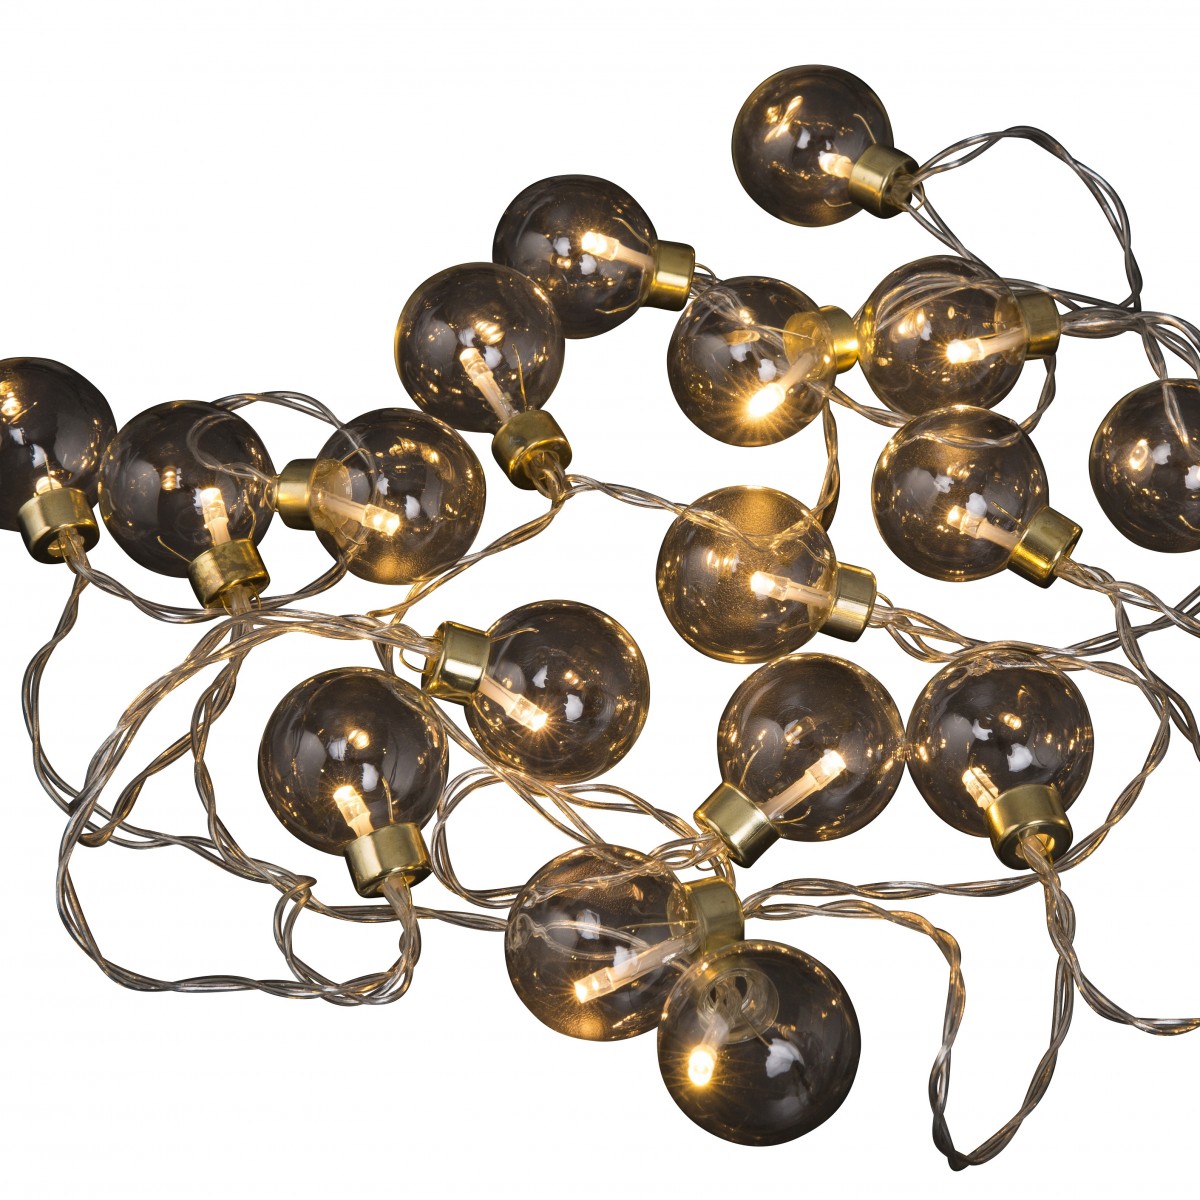
Hey! In one of my previous posts (Christmas gifts) I listed the gifts I got last christmas, and one of the gifts were a string of lightning bulbs. I’ve been wanting this since I got my couch. I have a bunk bed in my apartment because I wanted to optimize the floor space. I have a one-roomed apartment, so it only made sense for me to have a bunk bed. It gave me the opportunity to also have a couch-area, where I can chill instead of have to crawl up to bed all the time.
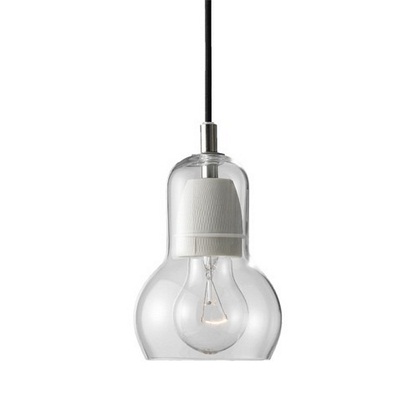
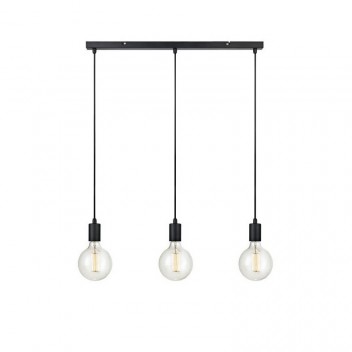
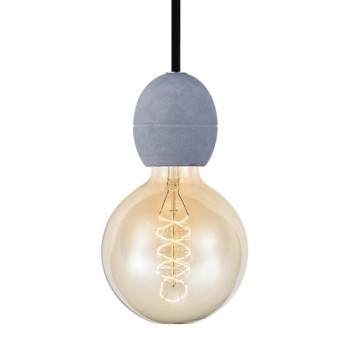
I wanted huge bulbs, because it had this rustic scandinavian look to it, and it matches the huge bulb pendant lamp I have in the entrée/kitchen. So I wanted to make the space cozy by adding some light, pillows and a big duvet. The added bulbs makes it easier for me to read before bedtime. My next project is to find a coffee table in a reasonable size, price and design (sigh), and I’m already on it. 🙂
Hey guys. I took a break from the studies, when I saw how wonderful the weather was – I mean hallo, natural lightning is everything in photography! And it is especially hard to find good natural lightning during winter. What you see above is my first attempt to create a cut crease. Not only did I do a cut crease but also cut it with glitter liner. Not bad considering it is my first trial, right? Products I’ve used are listed below:
Face:
Nars Sheer glow foundation(macao mixed with The Body Shop shade adjuster light) mixed with MAC master fluid foundation (6.0)
In the crease: MAC eyeshadows (Brick, sketch) and Urban Decay x Gwen Stefani palette (Zone, Punk)
Cutting the crease and painting the lid with Urban Decay Naked Skin concealer
First layer on the lid: Urban Decay x GS palette (Pop)
Covering the whole lid with The Balm Mary-Lou Manizer (using finger to intensify the shadow)
Cutting the crease with Urban Decay Heavy Metal Glitter Eyeliner (Glam Rock)
Maybelline Master ink liner (black)
L’Oreal Voluminious Carbon Black mascara
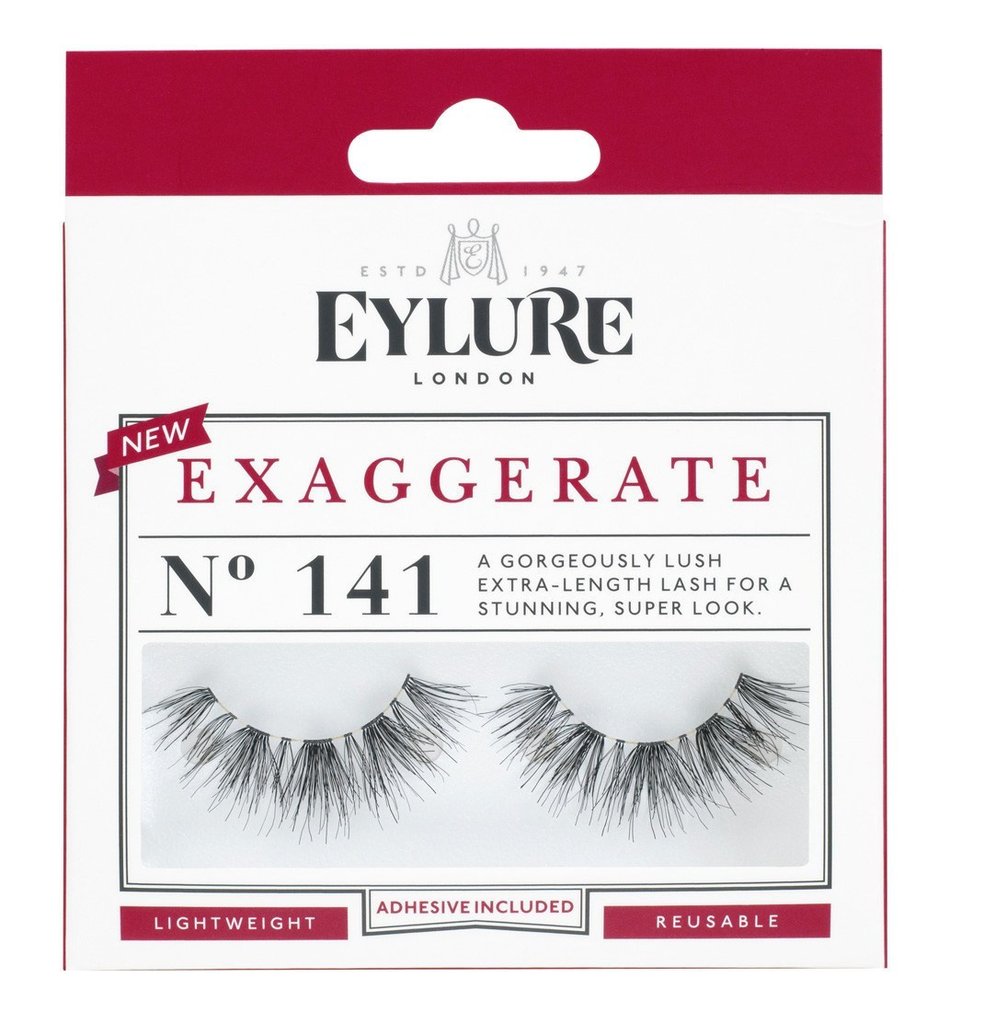
Eylure N°141 lashes
Brows: Bobby Brown Perfectly Defined Long-Wear Brow Pencil (Expresso) and brushed through with L’Oreal Voluminous Carbon Black mascara, highlight under brows with the same Mary-Lou Manizer
Lips:
Urban decay x GS Lipstick (Firebird) and MAC lipstick (Rebel)
2016 came to an end. A lot of changes happened last year, but one thing that didn’t change was my makeup obsession. I try to improve my skills and techniques, and have definitely seen a progress since I started wearing makeup. For me, the progress happened not only because my techniques have improved but also the products I’ve invested in and learned what works for me. I’m still trying to improve and learn experimenting with new products. In this post I will share my go-to products, that has worked for me. Everything from face to eyes etc.
Primer: E.L.F. Cosmetics, Mineral Infused Face Primer, Tone Adjusting
One of my best friends recommended an E.L.F’s primers, so I checked them out. They have various primers, and I chose to try the green one first. The green primer is “tone adjuster”, and the reason I bought it was, that I was struggling with some redness around my nose-area and forehead. It cancels out the redness fine, and blurs out the pores as well. I think I’ll try another primer of theirs one day.
Concealer- and colorcorrecting palette: M·A·C Studio Conceal and Correct Palette / Medium Deep
I got this palette for 2 years ago, and it literally changed my makeup-game. It is easy for brown skinned people to look ashy after applying foundation and difficult to cover dark spots and discoloration. But the burnt orange color cancels out the darkness and leaves an even skin tone after applying foundation on top. I use the other colors above to conceal around my eyebrows. Properly my holy grail for perfect complexion.
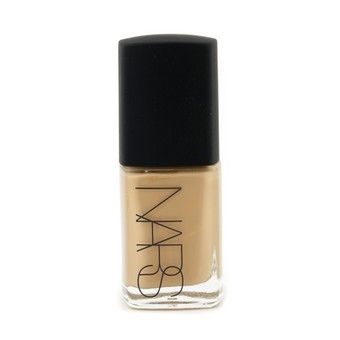
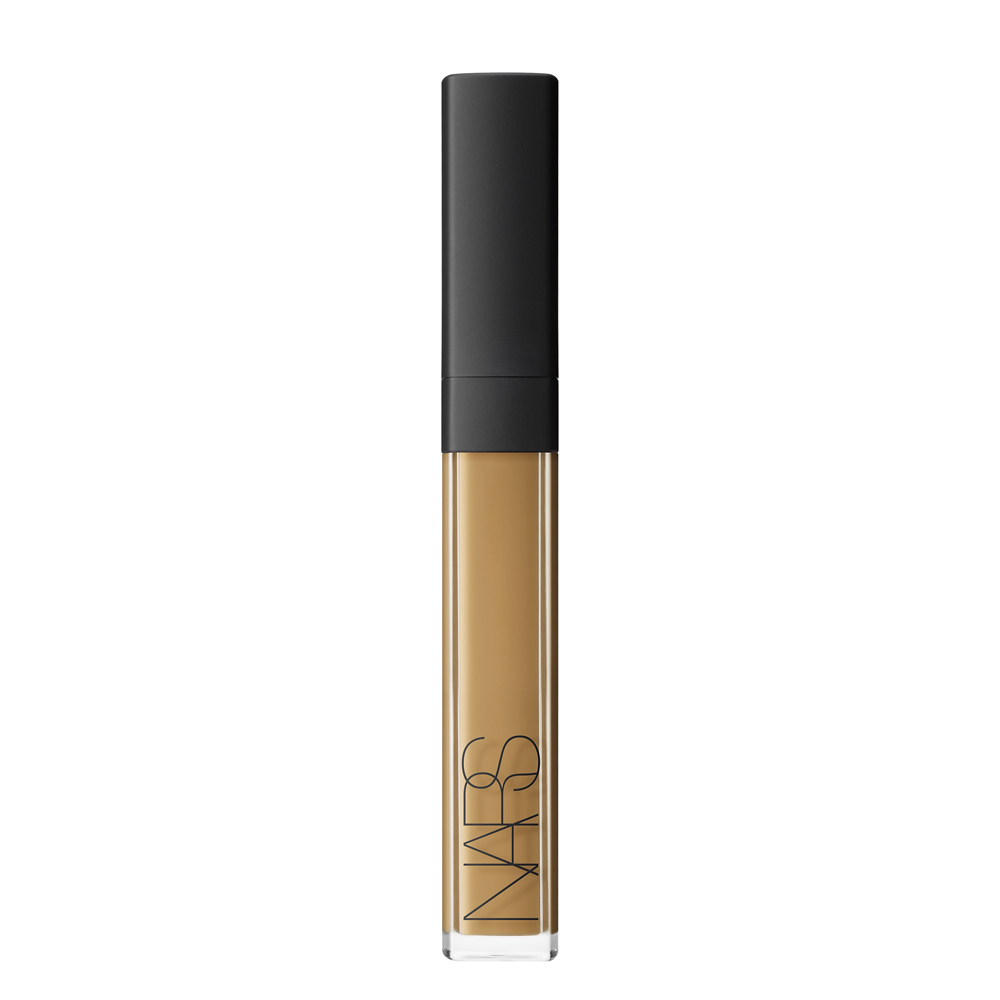
Foundation: Make Up For Ever Ultra HD foundation (173=445), NARS Sheer Glow (macao)
Because my face is 50 shades of brown, I mix my foundation to not look too flat or ashy. I use Make Uo Forever’s foundation at the center of my face because it matches skin tone the best, and it has a light/medium coverage. Then I use Nars sheer glow at the outer part of my face and on the forehead to match the skin tone, and to lightly contour/bronze. These two foundations are my go-to and current favorites! They both have a glowing sheen finish.
I have 3 tubes of this concealer. I have never restocked any makeup products for the second or third time, so this is a biggie for me! It doesn’t transfer like my MAC pro long wear concealer, and it is lightweight. I can use this concealer on daily basis.
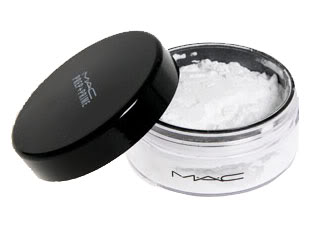
Setting powder: M·A·C Prep + Prime Transparent Finishing Powder
In natural order, I’ll set my concealer immediately to avoid creases underneath my eyes. I’ve been using transparent powder and “baked” with it. It leaves a flawless photo-finish blurred under eye look. After letting it set for some time, I’ll brush it off. Sometimes I’ll use this powder to sharpen up my contour-line or to mattefy a lipstick.
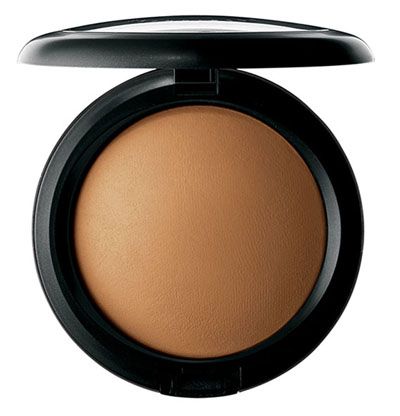
Over-all powder: MAC Mineralize Skinfinish Natural (dark)
In summer, I’ll use it as an overall powder, and in winter I’ll wear it as a light bronzer. Since it is baked, it has a sheen finish to it, so the face doesn’t look too powdery but has a natural finish.
Contour: Kat Von D shade and ligth contour palette
Ugh, ride or die item. I believe this palette can be used by all skin tones, and these contour colors are perfectly cool-toned. I usually mix the 3 dark colors and build the shadow with all the colors. It’s hands-down perfection. The highlight-shades are looking a bit ashy on me though.
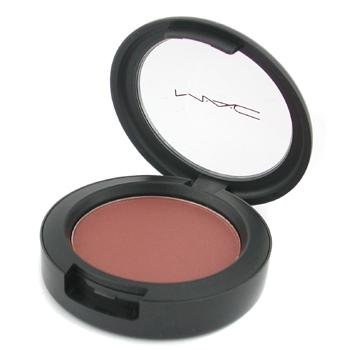
Blush: M·A·C blush (sweet as cacao)
I don’t always use blush, since I feel like the face can easily look overdone. But when I do, I use a little amount of MAC’s sweet as cacao. This blush is brown with rosy undertones, so it gives a hint of color. I use it when I feel like my face needs a bit more color, or to look more fresh.
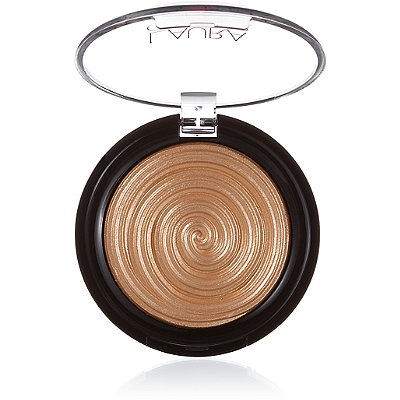
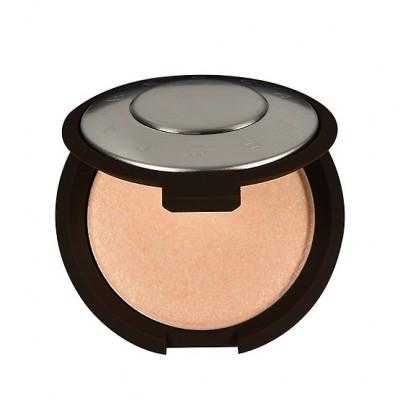
Highlighter: Laura Geller Gilded Honey, Becca Shimmering Skin Perfector Pressed Champaign Pop
I’ve been so into golden highlighter, since I think it suits my skin tone the best. So I invested in Gilded honey which is currently my absolute favorite highlighter. It is caramel-ish, and super settled for everyday use. It can be builded up for intensity and spraying some mineral water on it makes it pop! I bought champagne pop because it would suit many skin tones, and it really does. It has some golden shine to it as well, and my go-to combination is a mix of gilded honey and champagne pop.
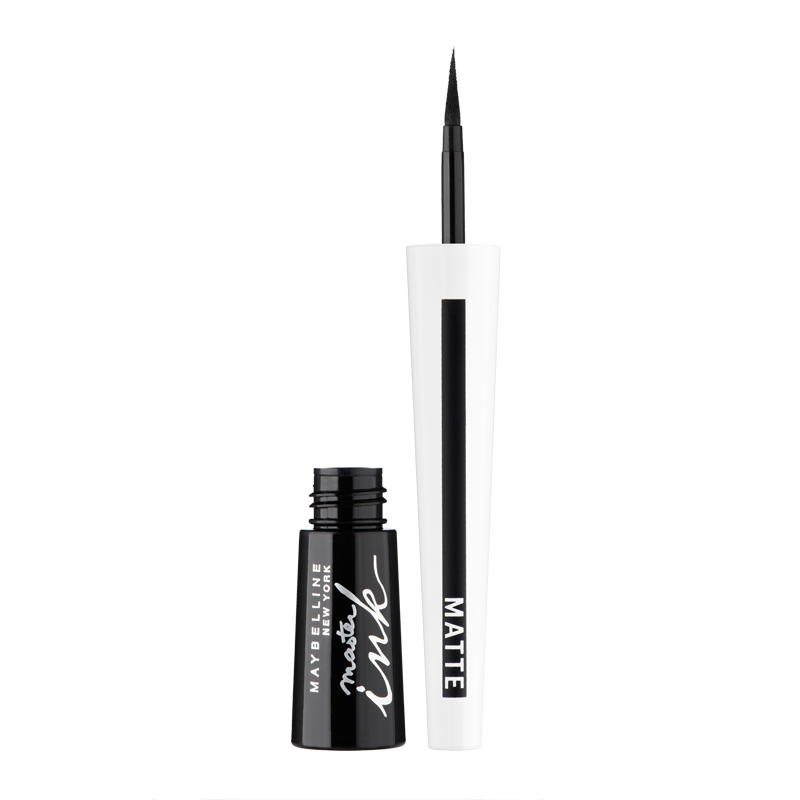
Eyeshadow/eyeliner: Maybelline Master ink liner black
I don’t really have a favorite eyeshadow or eyeshadow palette. I usually mix/use all I have depending on the look I want to create. I used to use gel-eyeliner in pots. I started to go back to liquid eyeliner, and this matte black eyeliner from Maybelline is a favorite. It dries to matte-finish, but is unfortunately not smudge-proof 🙁 When I do a winged-liner, I paint the eyeliner on an angled brush and create then wing, and then fill it in with the build-in applicator.
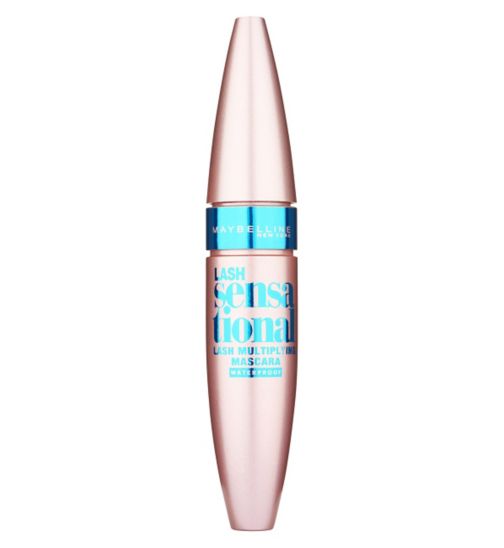
Mascara: Maybelline Lash Sensational (waterproof, black), L’Oreal Voluminous Carbon Black
I have the shortest straightest lashes ever, which can never stand up no matter how many times I curl them. Last year I found out that waterproof mascara could do the trick and make my lashes stay curled up. But that didn’t mean my lashes would become longer and visible at the curls. Also it is extremely difficult to get all of the mascara off, and sleeping with it on is definitely not a good idea. I also own the regular Maybelline Lash Sensational. It separates the lashes nicely and adds a natural amount of volume.
The carbon black mascara, is the blackest mascara I own. I usually apply this mascara when I’m going to wear false lashes (to create a fuller lash line), and for my bottom lashes, so the volume matches the top lashes.
Since I got the Huda Beauty lashes, I wore almost no other lashes. They were fluttery, natural-looking and comfortable lashes. I definitely need to stock up on this style, in case I ruin these. My new obsession is the eylure lashes. I had no expectation to these lashes, but they’re really good quality compared to the price. This style is also fluttery and super easy to apply in no time. I can wear them all day without feeling them on my lash line and they’re super comfortable.
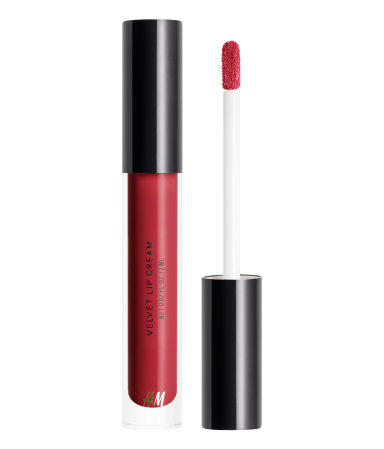
Lipstick is the last thing I apply doing my makeup, and when I run out of time, I usually grab either of these to lipsticks. I Mostly went with the H&M lip stain, since it came with an applicator and made it easy for precise work. And you never go wrong with red, honestly. This color was the only one that suited my skin color, but I’m really impressed by how good this product it. I need more liquid lipsticks in my life. When I don’t want to go for a red, I usually grab MAC’s Rebel. For everyday use, I’ll just dap the color on my lips. For parties or for more intensity I’ll roughly apply it on my lips, and use a brush to blend it out. This plum color has been my go-to for 2 years.
I use the beauty blender pro to blend out my foundation, concealer and to bake. I don’t use brushes because it leaves streaky lines and moves the product around, which I don’t want since I usually apply corrector and primer underneath. It leaves a nice even layer and works the product into my skin, so it doesn’t just sit on top of it.
Last year I got some Real Techniques brushes for my collection, and they’re amazing quality and cheaper than MAC’s brushes. The bristles are super soft and easy to use.
I have to favorite eye-brushes, and they’re from MAC. The one is my favorite blending brush and angled brush which I use for winged eyeliner, and sometimes I use the leftover on the brush to shape my brows.
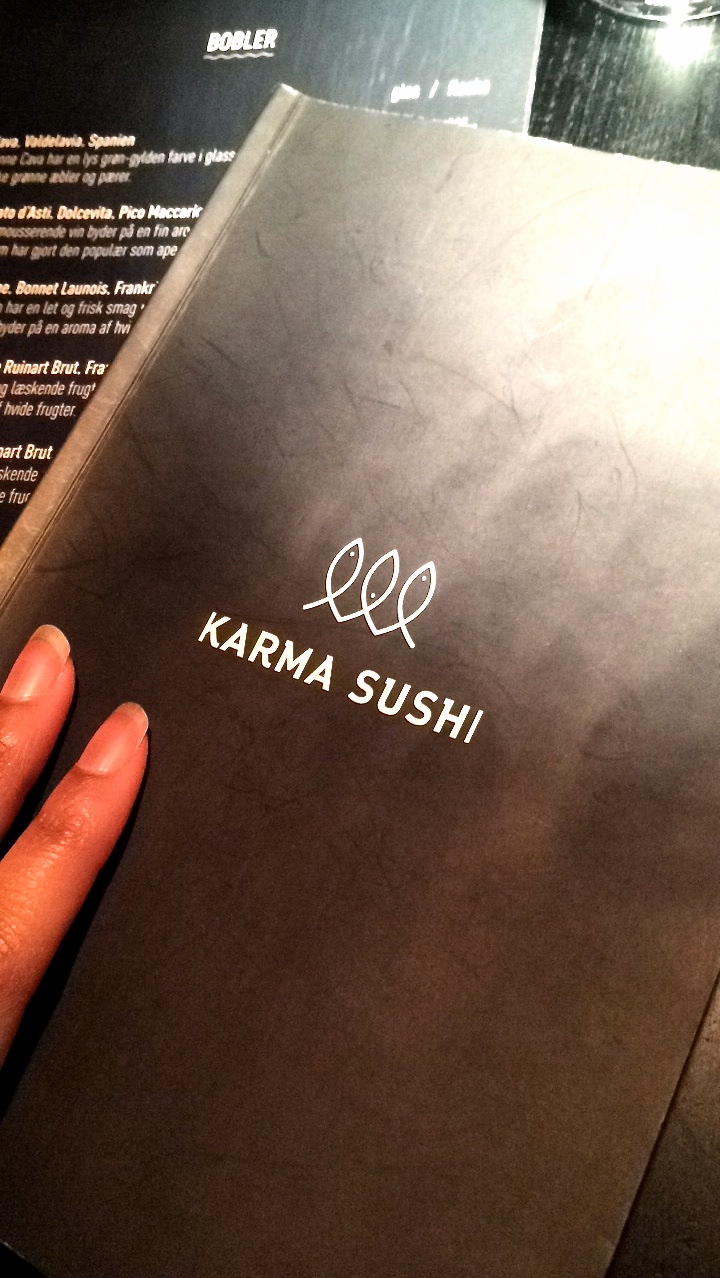
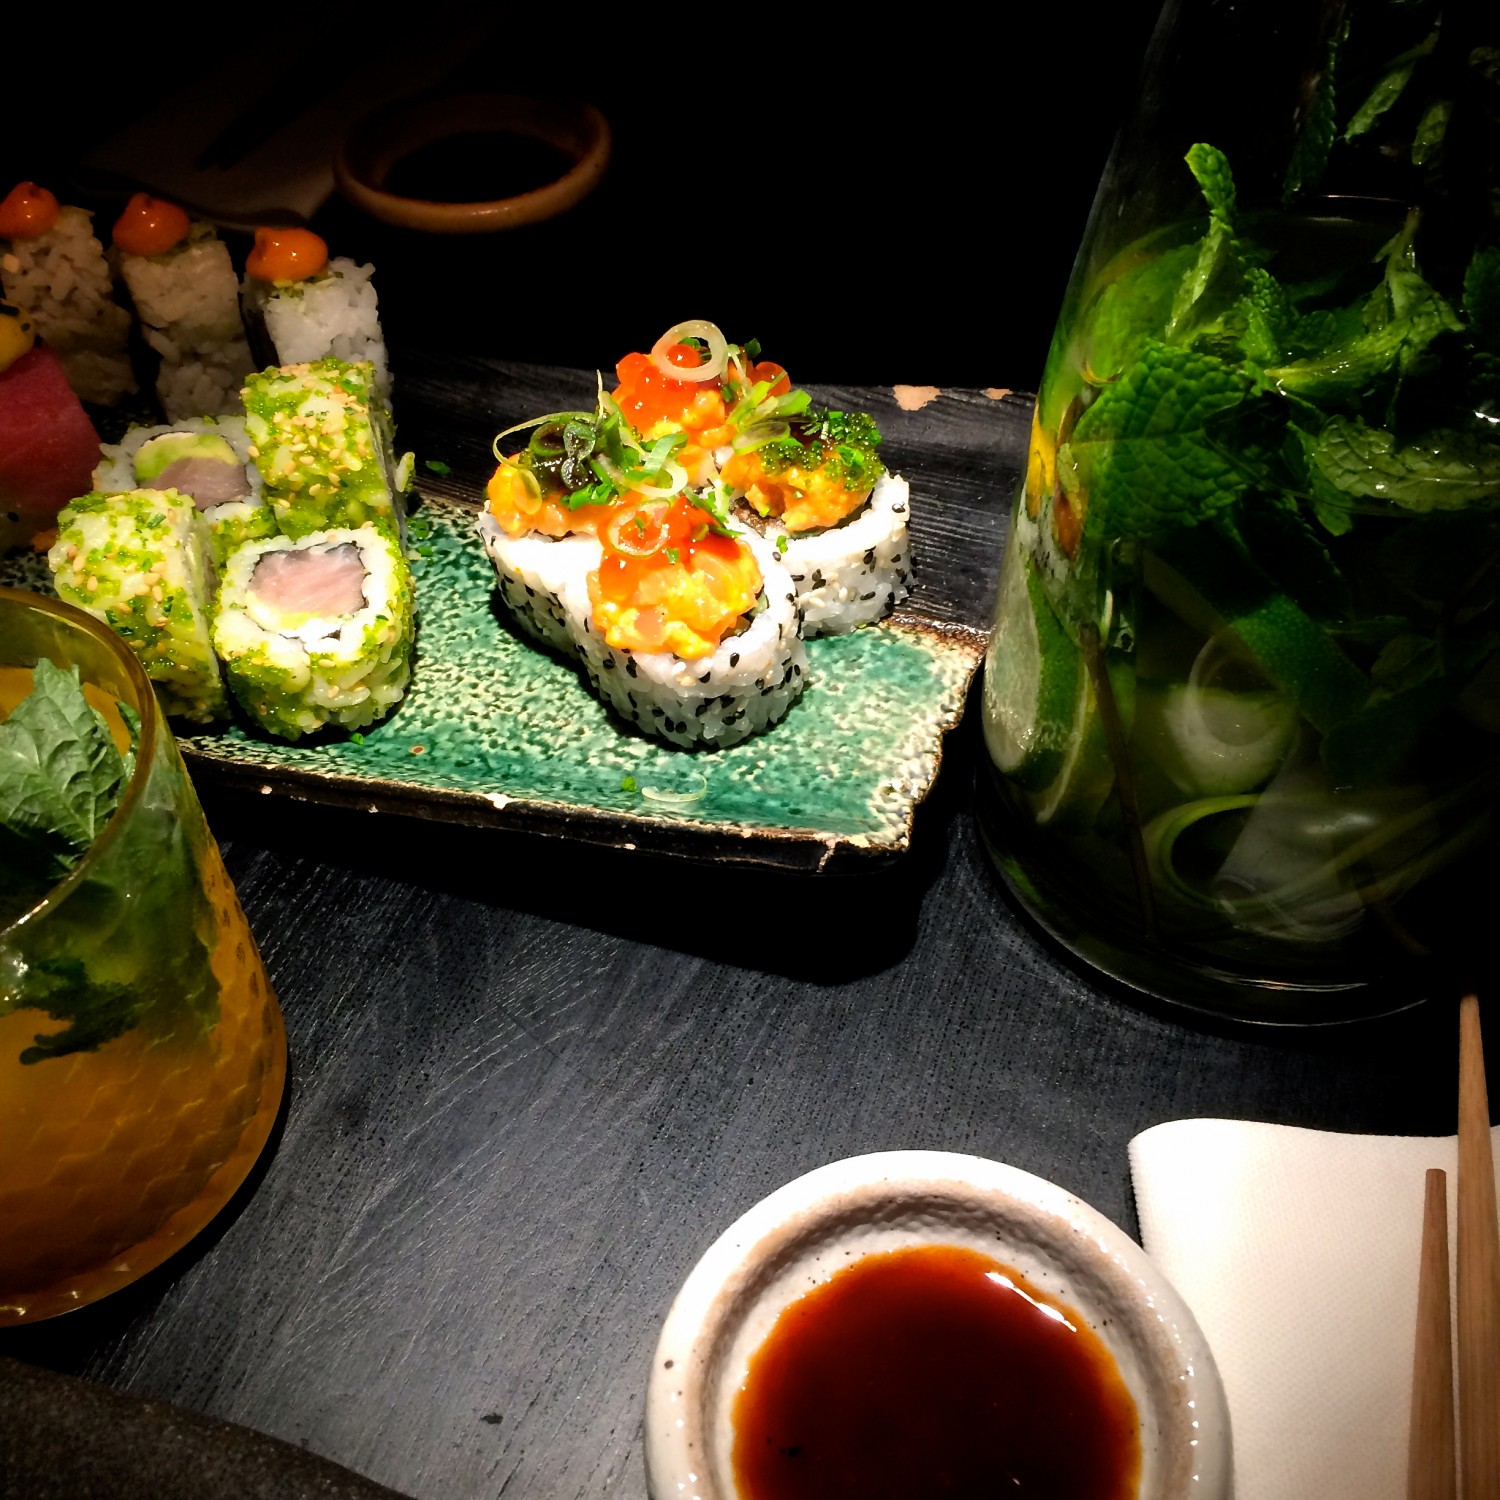
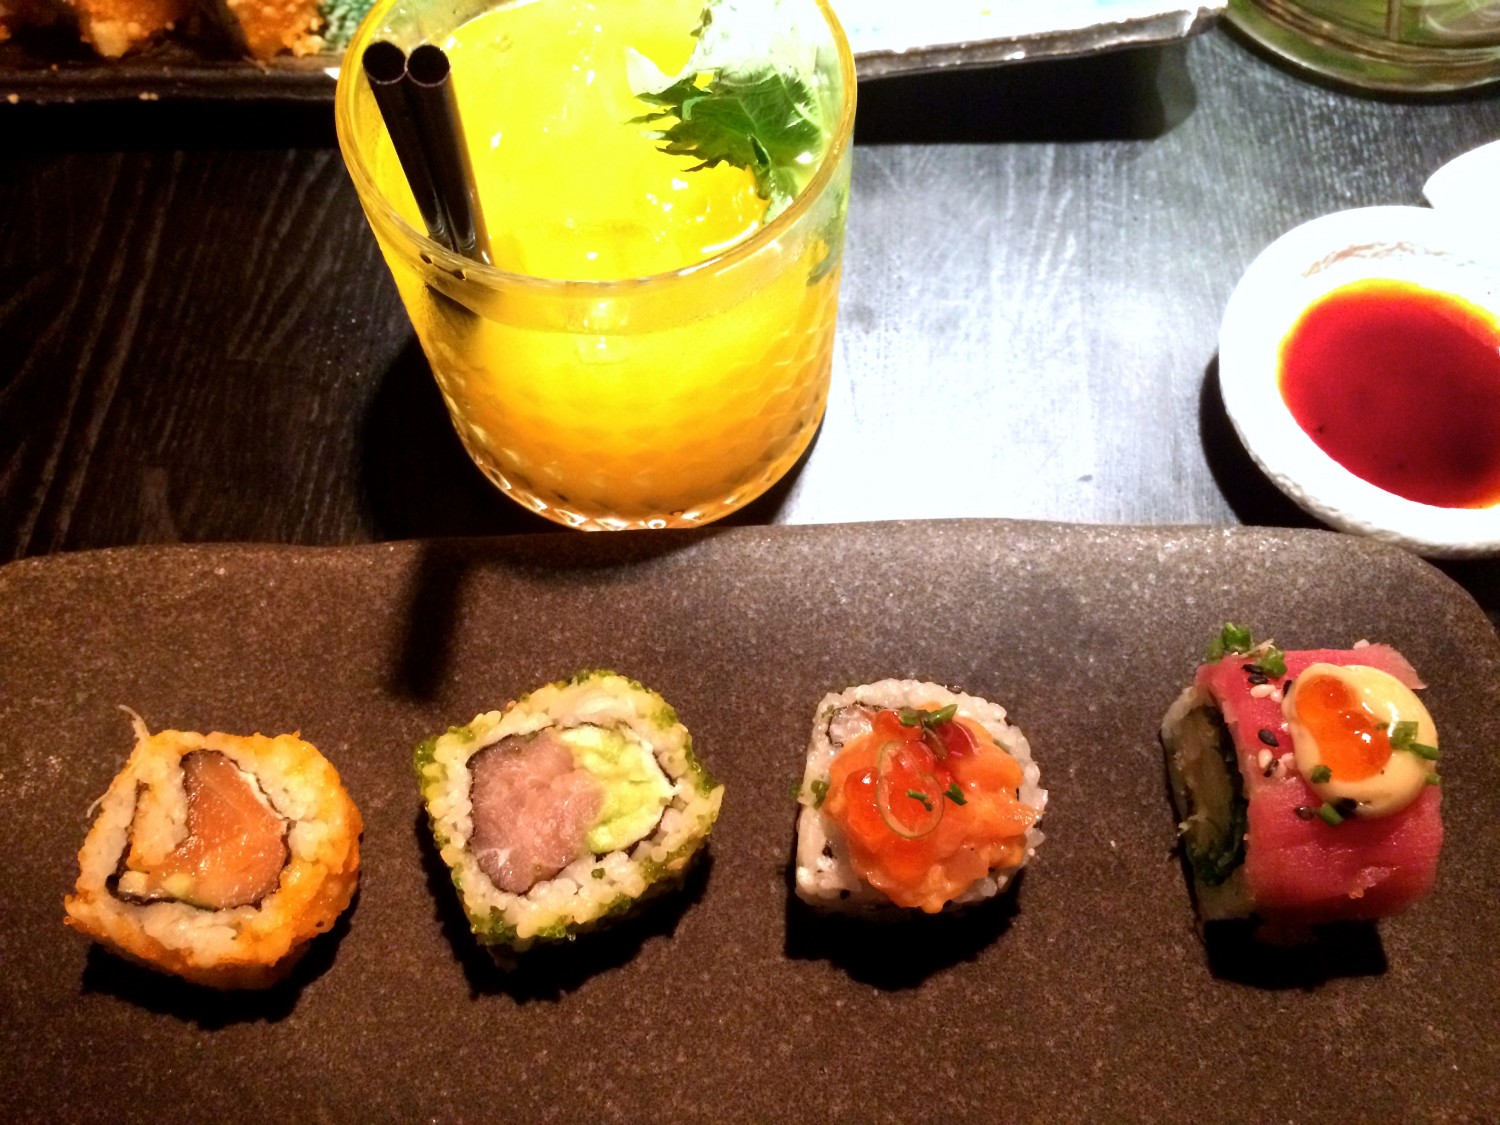
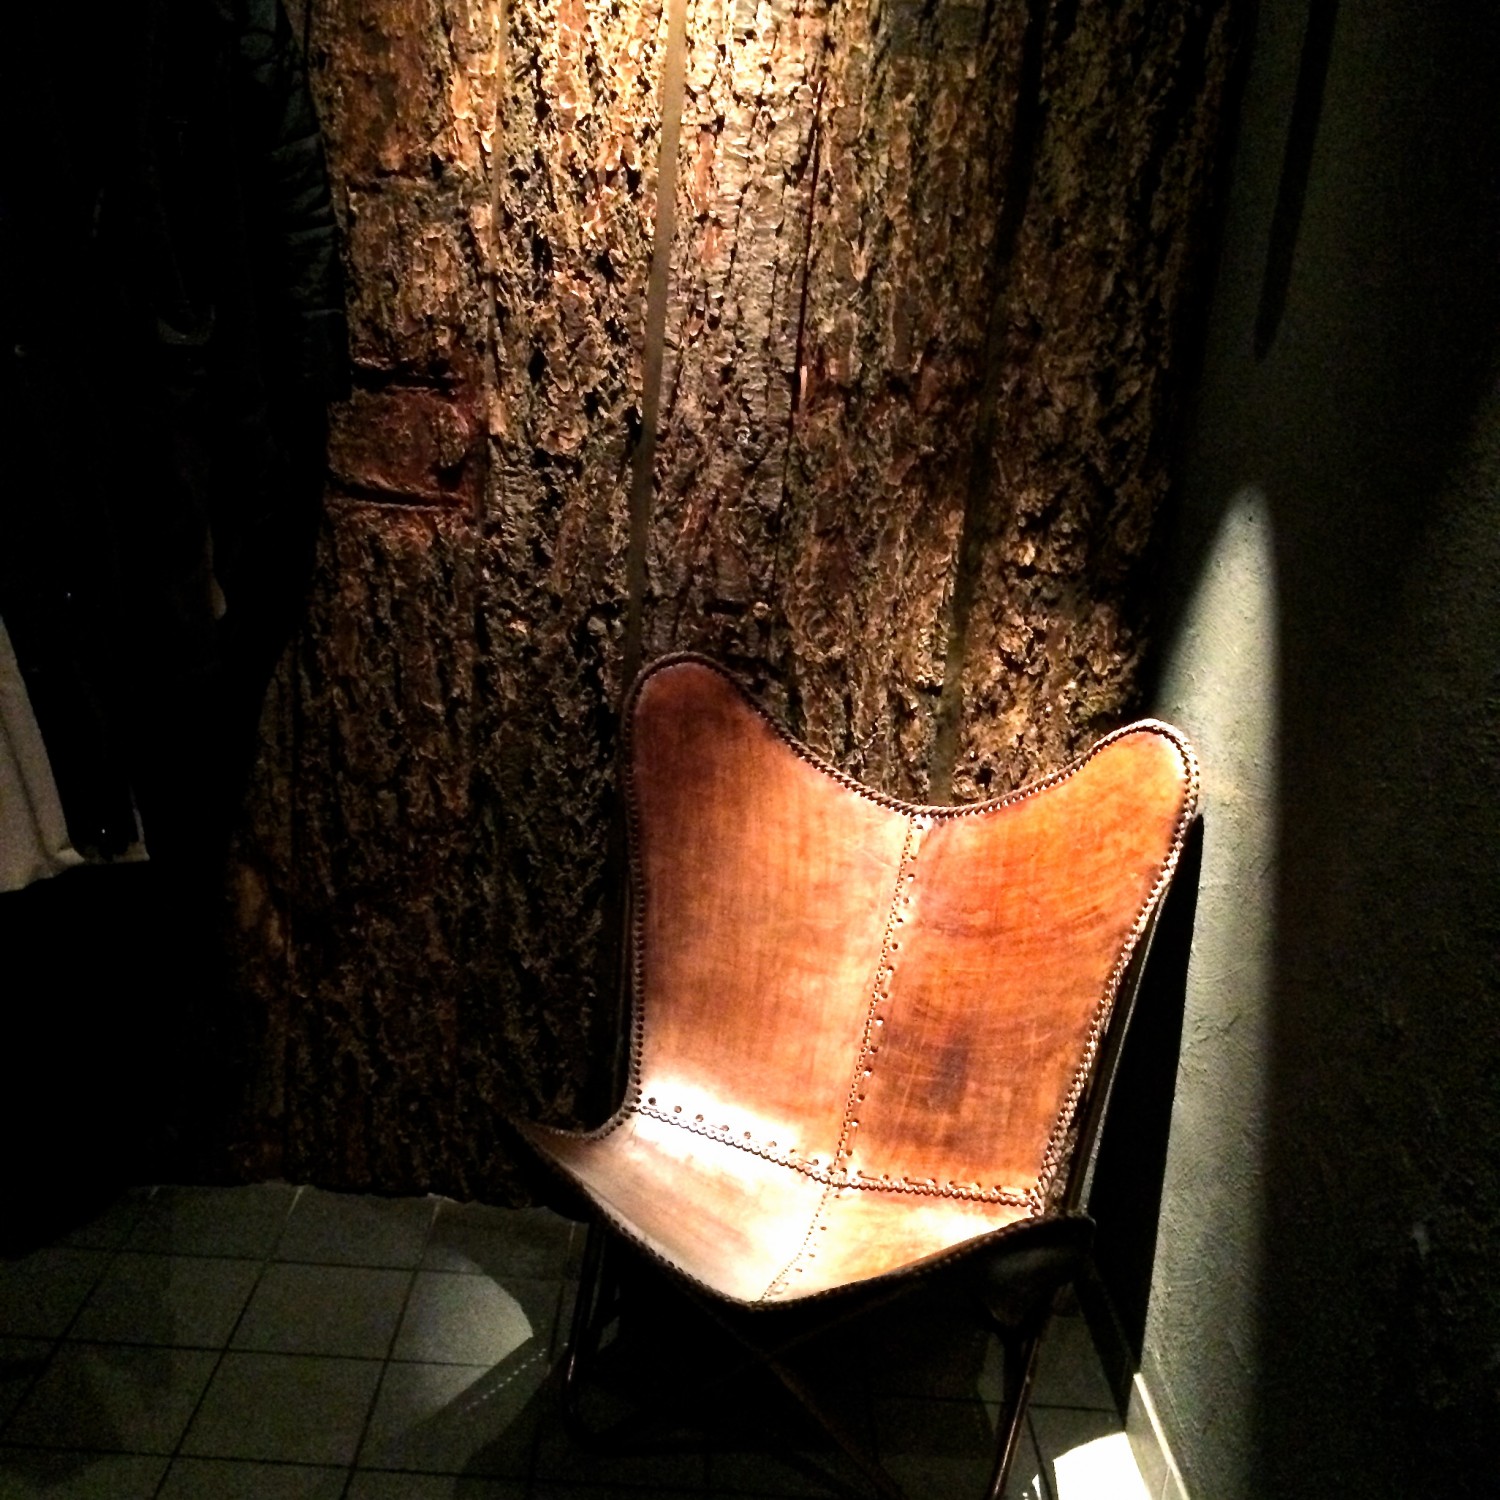
Hey, I’m making these posts in advance so I can post them during busy periods. Last weekend we went twice to this sushi restaurant. I’ve tried sushi random places, and this place is one of the best! first time we had to wait 45 minutes to get our food, but it was totally worth it. Every single sushi roll, were made so fine and there was so much going on. We went there next day and ordered the same on the menu. So delicious! The interior was so cozy and chick. The lights were dimmed, so it was kind of hard to take proper pictures of the food – and we didn’t want to cause attention by using flash lights. But I managed to click few pictures, before we demolished the colorful delightful sight of raw fish rolled in cold rice.
Anyway, the place is called Karma Sushi, and is located different places in Denmark 🙂
Hey - welcome to my blog! My name is Neevadha. I'm a tamil girl, born and raised in Denmark. I'm kind of everywhere with this blog - so to make it easier for you to find my posts, I've put them into categories and put tags on them.
Enjoy 😉 xx
Lifestyle // Makeup // Foodie // Travel // Random stuff