Skincare Routine | Facial – Recover

img_4976

Heeeey!
To follow up on the mini skin-care series, this post is about my recover-routine from break outs due to unhealthy eating, stress or hormones. Once again I’ll do it shortly in bullet points. If you want to read my other posts from this series, you can go up to the categories and find “Health and Beauty”.
The products list will be listed below.

  • Besides from trying to stick to my daily skin care routine to keep my skin and pores clean, I cannot avoid breakouts during periods or stress. 
  • Toner – after washing my face I use a toner. It evens out the skin tone, which is super helpful to heal the dark spots/scars from previous breakouts. 
  • It may sound weird but mouthwash is key! I use a q-tip dipped in mouthwash, and put on the blemish directly. Mouthwash is anti-bacterial – I use it after washing my face and tone it.
  • After applying the mouthwash, I use my vitamin E serum, which helps recover the skin.
  • In the process of recover from the dark spots/scars, I have to protect the skin from further damage. Therefor I use SPF on daily basis. It prevents damage from the sun. 

To follow up on this, I’ll publish a post about what I do to prevent breakouts to happen! By this I mean how to reduce them. It’s some techniques I’ve found through few years that truly made a difference. Stay tuned 😉
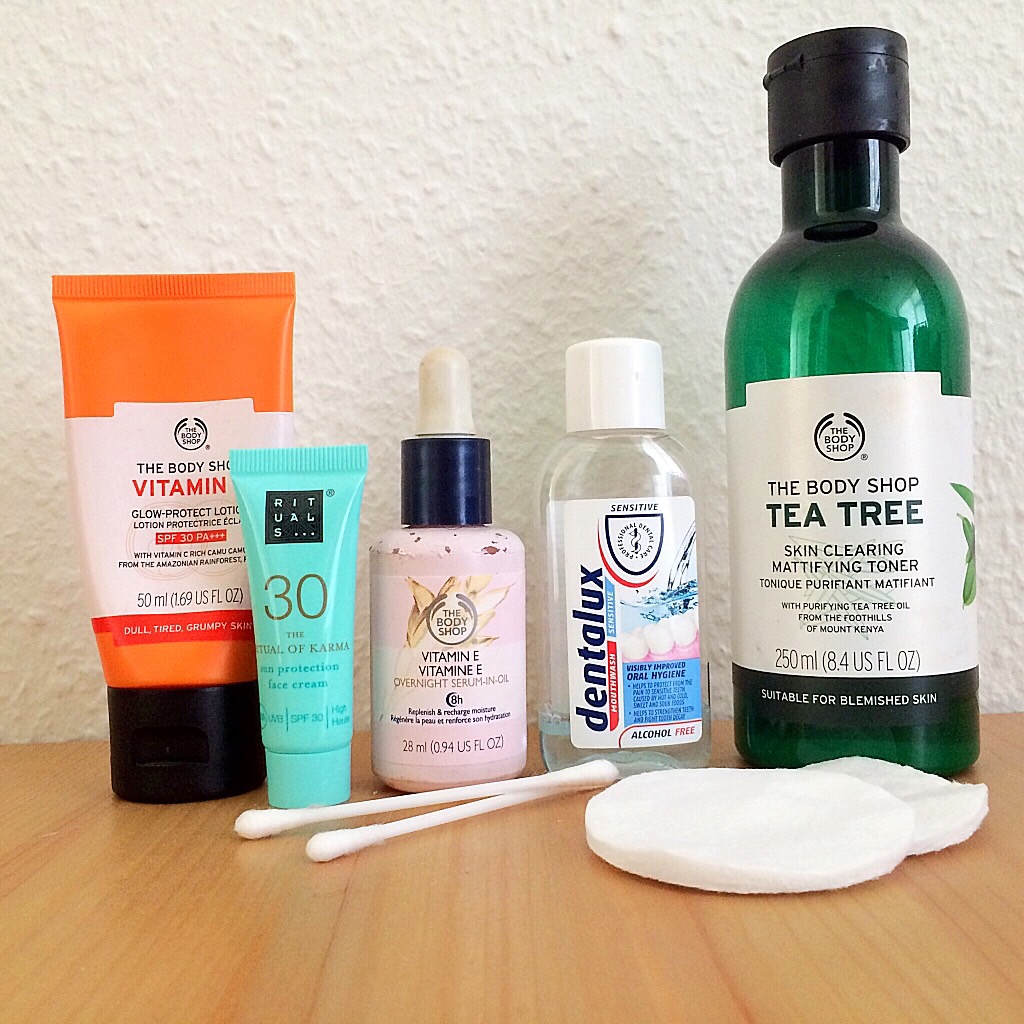
 

Products list:

~Neevadha~

Do You Trust Me?

img_4765 img_4766 img_4767 img_4768

Alright.
This is the third and final look. I know you either love or hate this look. Yes I realize I should try to create some looks without wearing the nose-ring all the time 😅 – and you may not be a fan of the color combination either. The thing is, that I absolutely love this look, and it may be one of my favorite! Why? It’s so different. So simple with a twist of dark, mystery sultriness to it. I kept it minimal with small earrings, no necklaces, so the main focus is on the tikka and nose ring.
Also I changed up the lip color – wearing MAC ruby woo lipstick with Elizabeth Arden lipgloss in Red Door at the center. I found the tikka in one of my old barathanaatyam jewelry-set. It was before the kundan jewelries.

Finding my old bharatanatyam jewelry boxes inspired me to create some more looks, but it has to wait till another time 😉 ♥

~Neevadha~

Banana-Pancakes!

img_5094
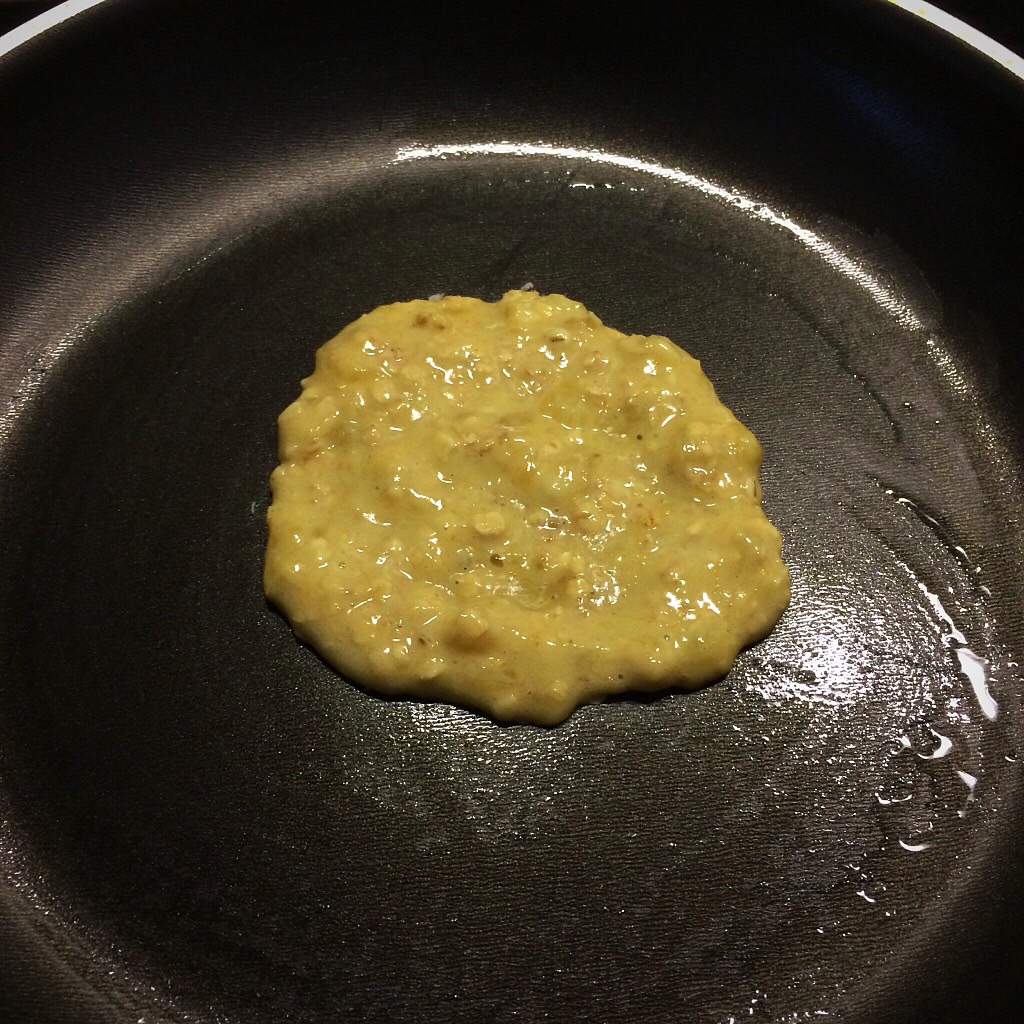
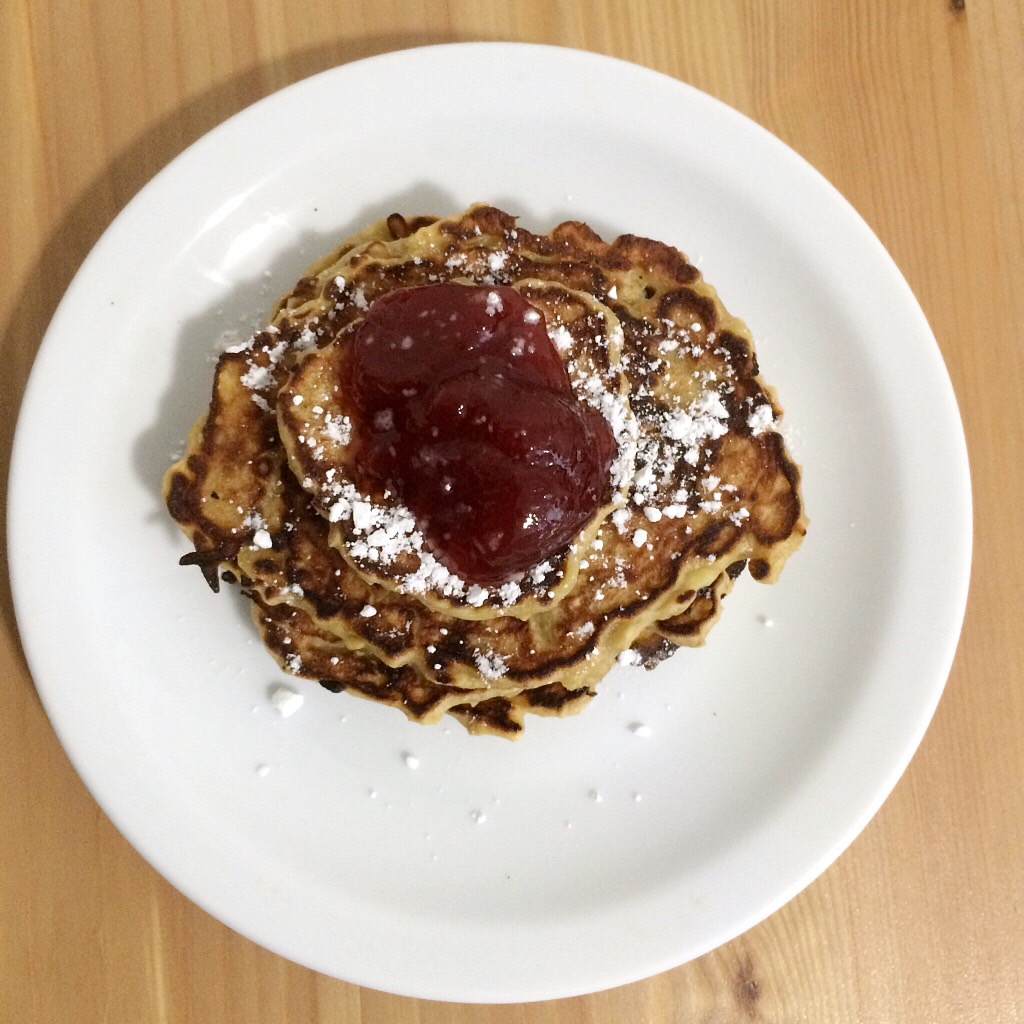
Hey! Another food-related post, ahahaha..hah… yeah.
It may look like I made regular uneven pancakes, but they’re actually banana-oats pancake. It was super easy to make, and I had all the ingredients at home, so I didn’t had to go out and buy anything. 

I made like 15 hand-sized pancakes, where I ate a few and saved the rest in the refrigerator so I have some for breakfast. If you’re interested in how I made these – if I may call them protein – pancakes, then read below 😉


Ingredients:

  • 2 bananas
  • 3 eggs
  • 1 dL oats
  • 1 dL flour 
  • 1/2 teaspoon salt
  • evt. 1 teaspoon vanilla 

img_5093

Mash the bananas with a fork, and then mix it with the eggs. Then add the remaining ingredients and mix it all together. I used a tablespoon size as a measurement for the pancakes and spread it out on the pan. Since I had a big pan, I could make two pancakes at the same time. 


img_5092


img_5095As for serving, I stacked them up on each other, with some strawberry jam on and sprinkled some powdered sugar on top. 

~Neevadha~

Skincare Routine | Facial – Removing Makeup

img_4977

Hey again!
Due to my mini skincare- series, I thought this post, about how I remove my makeup, would be quite relevant since it has a lot to do with how my skin is aftermath. As mentioned in all of my skin-care posts: I’m no expert, and I’m just sharing my routine which works fine on me 🙂 Products will be listed below.

  • I always start out with either whipping the upper-layer of makeup off with makeup wipes. This gets the most off whenever I cake on for a bigger function or just experimenting.
  • After makeup wipes, I either go in with a cleansing oil or micellar water to get the parts the wipes didn’t get. I can definitely recommend the micellar water – it works wonder on budget! 
  • For the ultimate cleanse of pores I use foaming soap. It really gets all the dirt off my pores and leaves the face 99% makeup free! 
  • As per usual I tone my face to keep the even skin tone consistence. 
  • I always end this routine by putting a moisturizer on and a lip balm. 


Products list:


~Neevadha~

Just your (above) average girl 👑

img_4773 img_4774 img_4775 img_4776

Hey guys!
As I mentioned in my previous – lookbook post? Should I call the series a lookbook? – I will describe this look in details. I don’t know how visible my eye look is with those massive lashes on. I think I’ll list the products used first and then how I did the eye look in depth.

Products used:

Face:

  • Foundation: MAC match master foundation (4.0) + Maybelline Fit me! Matte+Poreless Foundation (caramel)
  • Concealer: Nars radiant creamy concealer (caramel) + Urban Decay naked skin concealer (med-dark neutral)
  • Setting powder: MAC studio fix powder (NC43)
  • Bronzer: MAC mineralize skinfinish (sun power)
  • Blush: MAC (peach twist)
  • Highlighter: Laura Geller (gilded honey)
  • Settingspray: Urban Decay all nighter

Brows:

  • Anastasia Beverly Hills dip brow (ebony) + MAC 266 angle brush
  • used a random spoolie brush to brush through

Lips: 

  • MAC matte lipstick (antique velvet)
  • NYX matte lip cream (berlin) at the center.

Eyes:

  • Concealer: Urban Decay naked skin concealer (med-dark neutral)
  • Eyeshadow: MorpheXJaclynHill palette + Juvia’s place Zulu palette
  • Eyeliner: Maybelline master ink (black)
  • Lashes: Huda Beauty Lashes (Farah)
  • Mascara: Lanôme Hypnôse mascara black

I don’t even know if you guys care for a long or short tutorial on it, so I’m just going to make it short.

  1. I covered my whole eyelid in concealer to have an even base
  2. Set it with some bone-colored shadow from the crease and up to my brow-bone
  3. Used the shades “Pukey”, “Roxanne” and “Hunts” in the crease (in the same order as mentioned) from the Morphe palette
  4. In the outer V-corner of the lid, I used “Jacs” and in the very edge I used “Abyss” from the same palette.
  5. I cut the crease half-way with some concealer on a flat brush
  6. Applied the Rose-gold metallic shade from the Juvia’s place Zulu palette, from the inner-corner till the center of my lid with my finger.
  7. Blended all the shades with a clean brush to get rid of harsh lines
  8. Used the same crease colors on the lower lash line. 
  9. Topped off with winged eyeliner, pair of lashes and mascara.

That was basically it! It would probably be easier to demonstrate the tutorial on video, but I’m too shy and the faces I make are probably not even worth it 😅

~Neevadha~